Floating bathroom vanities are a sleek and modern addition to any bathroom. They create an illusion of more space, provide a minimalist aesthetic, and make cleaning easier. This step-by-step guide will help you confidently install your floating bathroom vanity, ensuring a professional and secure fit.
Introduction
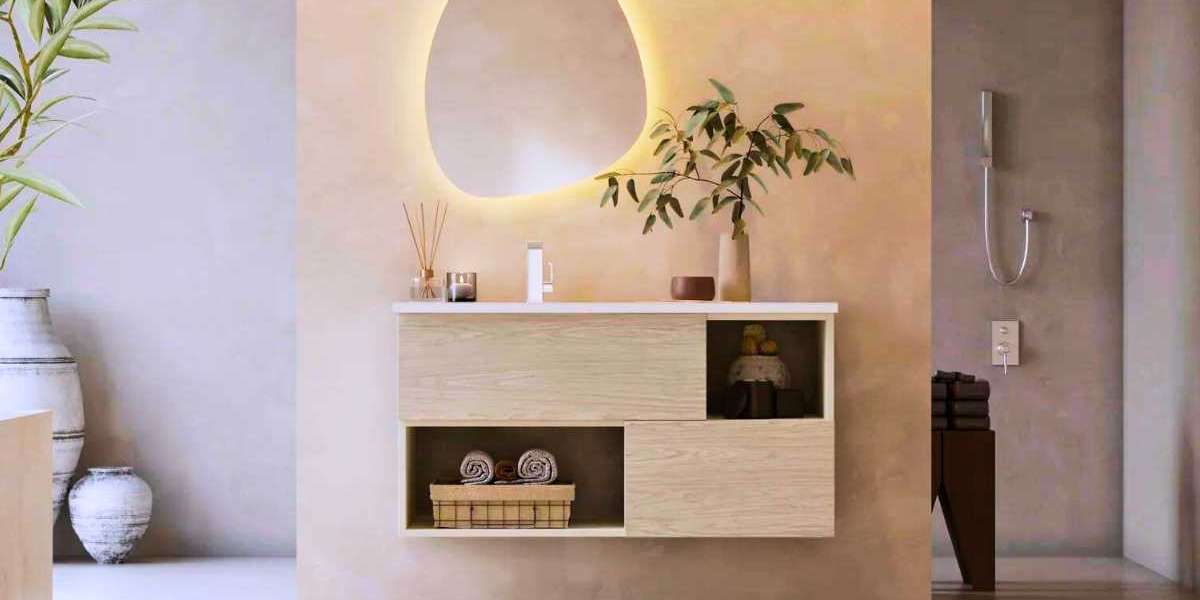
Choosing a floating vanity can transform your bathroom, offering a contemporary look that maximizes floor space and enhances the overall design. Floating vanities are particularly beneficial for small bathrooms, creating a sense of openness. Additionally, the ease of cleaning underneath the vanity is a practical advantage. Before diving into the installation, it's essential to understand the process and gather the necessary tools and materials.
Tools and Materials Needed
Before you begin, ensure you have the following tools and materials:
- Drill and bits
- Level
- Tape measure
- Stud finder
- Wrench set
- Screwdriver set
- Wall anchors
- Mounting brackets
- Silicone sealant
- Vanity cabinet and frame
- Countertop and sink
- Plumbing and electrical components
Having everything ready will make the installation process smoother and more efficient.
Preparation Steps
Start by measuring your bathroom space to select the appropriate vanity size. Consider the height, width, and depth to ensure a comfortable fit. Next, check the wall where you plan to install the vanity. Use a stud finder to locate the studs; a floating vanity must be anchored to the studs for stability. Also, the plumbing layout must be assessed to determine if any adjustments are needed.
Removing the Old Vanity
If replacing an existing vanity, disconnect the plumbing and any electrical connections. Turn off the water supply, then use a wrench to disconnect the pipes. Carefully remove the sink and countertop. Unscrew the vanity from the wall, taking care to avoid damaging the wall. Proper removal ensures a clean slate for the new installation.
Wall Preparation
Inspect the wall for damage and repair it as necessary. If necessary, reinforce the wall where the vanity will be mounted by adding blocking between the studs. This step is crucial for supporting the vanity's weight. Ensure the wall is level, as an uneven surface can affect the installation and alignment of the vanity.
Mounting the Vanity Frame
Begin by marking the desired height of the vanity on the wall. Use a level to draw a straight line across the marks. Position the mounting brackets on the wall, aligning them with the studs. Drill pilot holes and secure the brackets with screws. Double-check the level of the brackets before proceeding.
Installing the Vanity Cabinet
With the mounting brackets securely in place, lift the vanity cabinet and position it on the brackets. Ensure the cabinet is level and adjust as necessary. Secure the cabinet to the brackets with screws, making sure it is firmly attached. This step requires precision to maintain the vanity's stability and alignment.
Connecting Plumbing and Electrical
Reconnect the plumbing fixtures to the new vanity. Attach the faucet and drain according to the manufacturer's instructions. Check for leaks and make any necessary adjustments. If your vanity includes electrical components, such as lighting, safely reconnect the wiring. Ensure all connections are secure and functional.
Final Touches and Adjustments
Install the countertop and sink on the vanity cabinet. Apply silicone sealant around the edges to prevent water seepage. Attach any hardware, such as handles or knobs, and make final adjustments to ensure everything is aligned correctly. Clean the vanity and surrounding area to complete the installation.
Conclusion
Installing a Emoya Home floating bathroom vanity can enhance the look and functionality of your bathroom. By following this step-by-step guide, you can achieve a professional result that maximizes space and adds a modern touch to your home. Remember to maintain your vanity by cleaning it regularly and checking for any signs of wear or damage. Properly caring will make your floating vanity a stylish centrepiece for years.
By carefully following each step, from preparation to final touches, you can install a floating bathroom vanity that elevates your bathroom's design and provides practical benefits. Whether you're a DIY enthusiast or a first-time installer, this guide offers detailed instructions for flawless installation.